
Hello, everyone! Today, I will be sharing a recipe for Honey Glazed Chicken with you, and believe me when I say, this one will knock your socks off! While I wish I could take credit for creating this delightful recipe, this recipe is actually the creation of my mother, who graciously agreed to share it with me (and all of you).
I have been very blessed to have parents that have vigorously supported my son and I in the management of our food allergies. They have taken the time to understand and accomodate our allergies, and they consistently go above and beyond by creating delicous (and 100% safe) meals for us. If you are also managing multiple food allergies, you know that this is not by any means an easy thing to do.
This recipe is just one of the many delcious, allergy friendly recipes that they have concocted. In the future, I hope to be able to share even more of my mother and father’s recipes with you guys. In the meantime, I can’t thank my mother enough for sharing this lovely recipe with me.
Don’t let the fact that there’s only 4 ingredients fool you—this chicken is chock full of flavor. This recipe can be made using either chicken tenders, or chicken that has been cut into chunks. Today we are making it with chicken tenders, but it really is excellent either way. As written, this recipe is free of the Top 8 most common allergens, and is also gluten-free.
Now, let’s make some chicken! 🙂
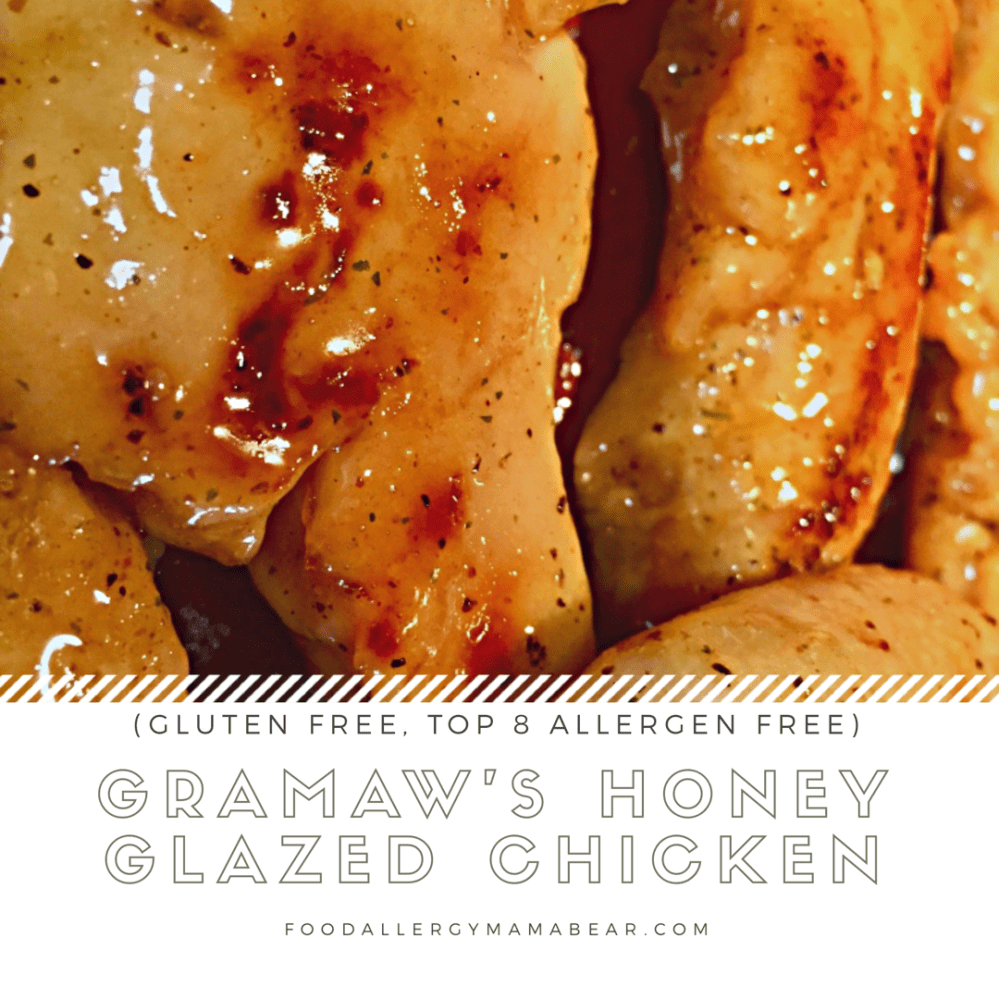
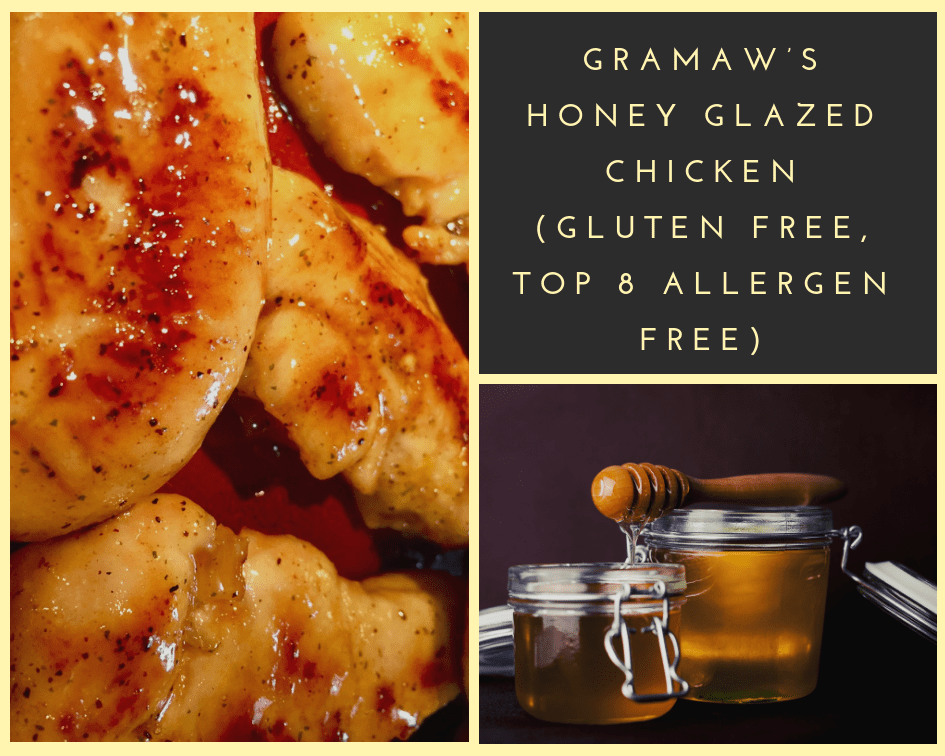
Gramaw’s Honey Glazed Chicken
*Makes aproximately 4 servings*
Ingredients:
- 1 tablespoon cooking oil
- 1 pound chicken tenders (whole or cut into chunks)
- 1 tablespoon Morton Nature Seasons Seasoning Blend (if you don’t already have this, you can find it here)
- 1/4 cup honey
Instructions:
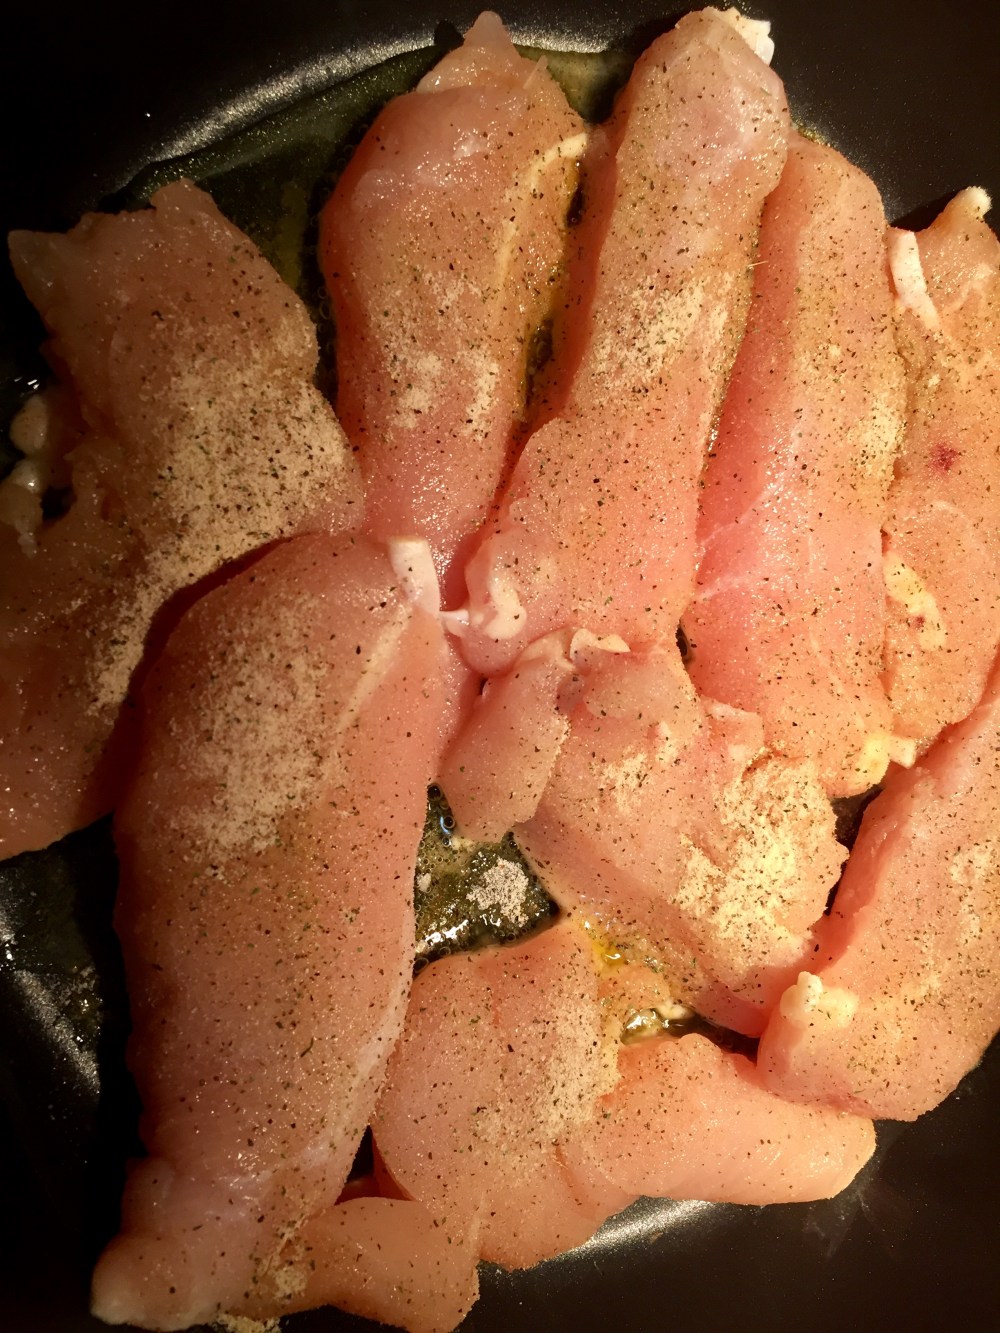
1.) Heat one tablespoon of oil in a non-stick skillet over medium heat. When oil is hot, add your chicken to pan.

2.) Sprinkle half of theMorton’s seasoning over the chicken tenders.
3.) Carefully flip the chicken tenders, and sprinkle the remaining seasoning over the previously unseasoned side of the chicken.

4.) Cover the skillet, and cook just until chicken is cooked through (no longer pink inside). Flip occasionally to prevent the chicken from sticking to the pan.
*If you decided to cut your chicken up (instead of keeping the tenders whole), bear in mind that the chicken will cook more quickly this way, and will likely need flipped/stirred more frequently. This applies to all steps of the cooking process from this point forward.*
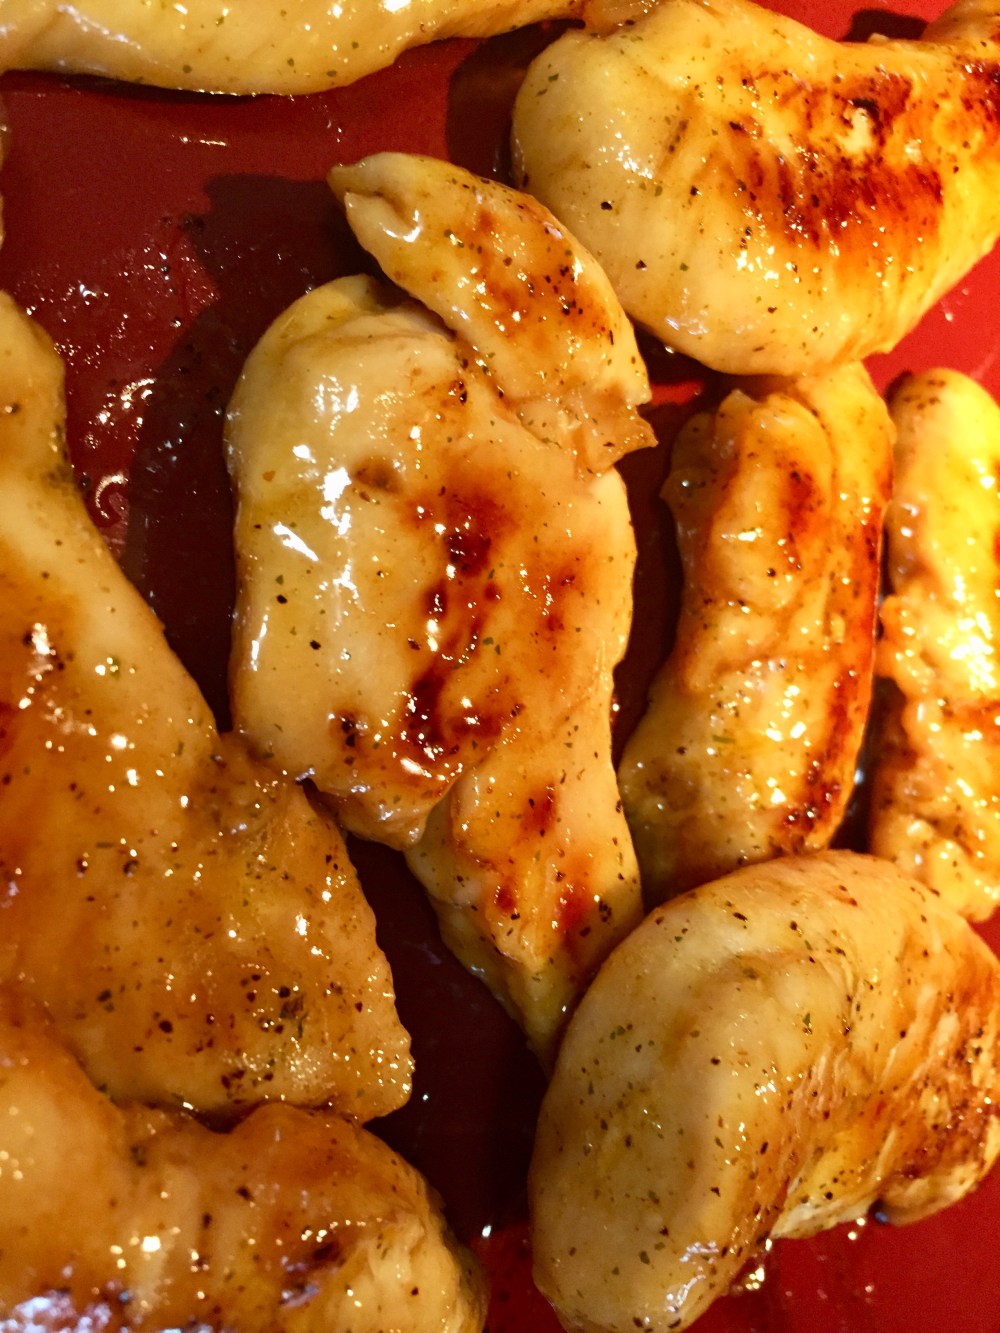
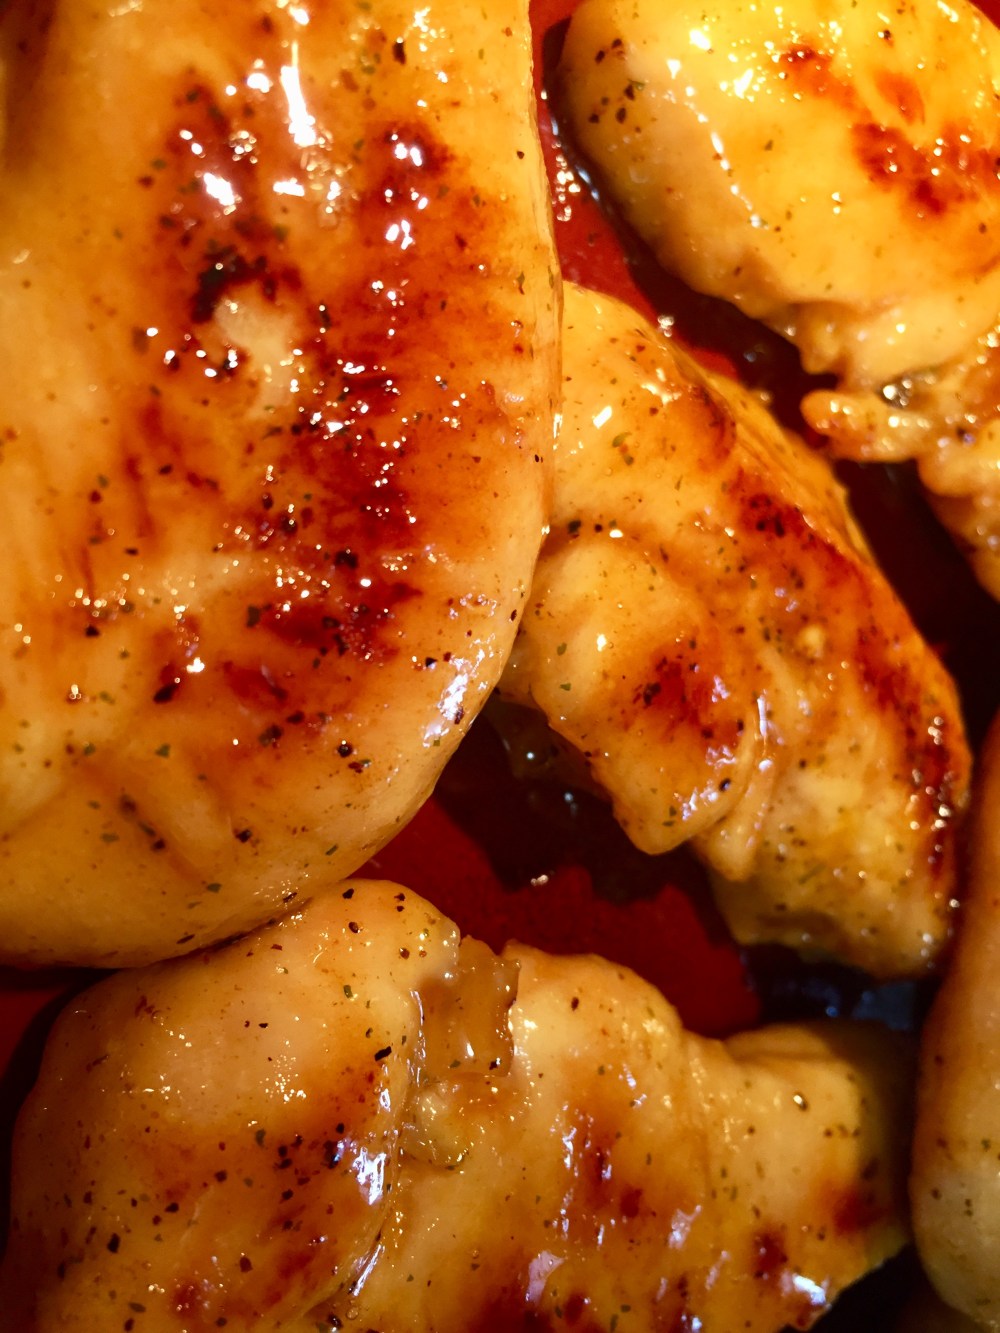
5.) When chicken is cooked through, uncover the pan, and pour honey evenly over chicken. Cook until chicken is golden brown on both sides, flipping occasionally. During this process, the honey will quickly become thick and bubbly. It will look something like this:

6.) When the chicken is golden brown and sticky, carefully remove from the pan, and transfer to a plate. Serve as is, or over rice.
As I mentioned earlier, this chicken may be served over (or alongside) rice, and it goes well with both steamed rice, and seasoned varieties. When we made it this time, we served it with cilantro-lime seasoned rice. It also pairs well with steamed, or roasted veggies.

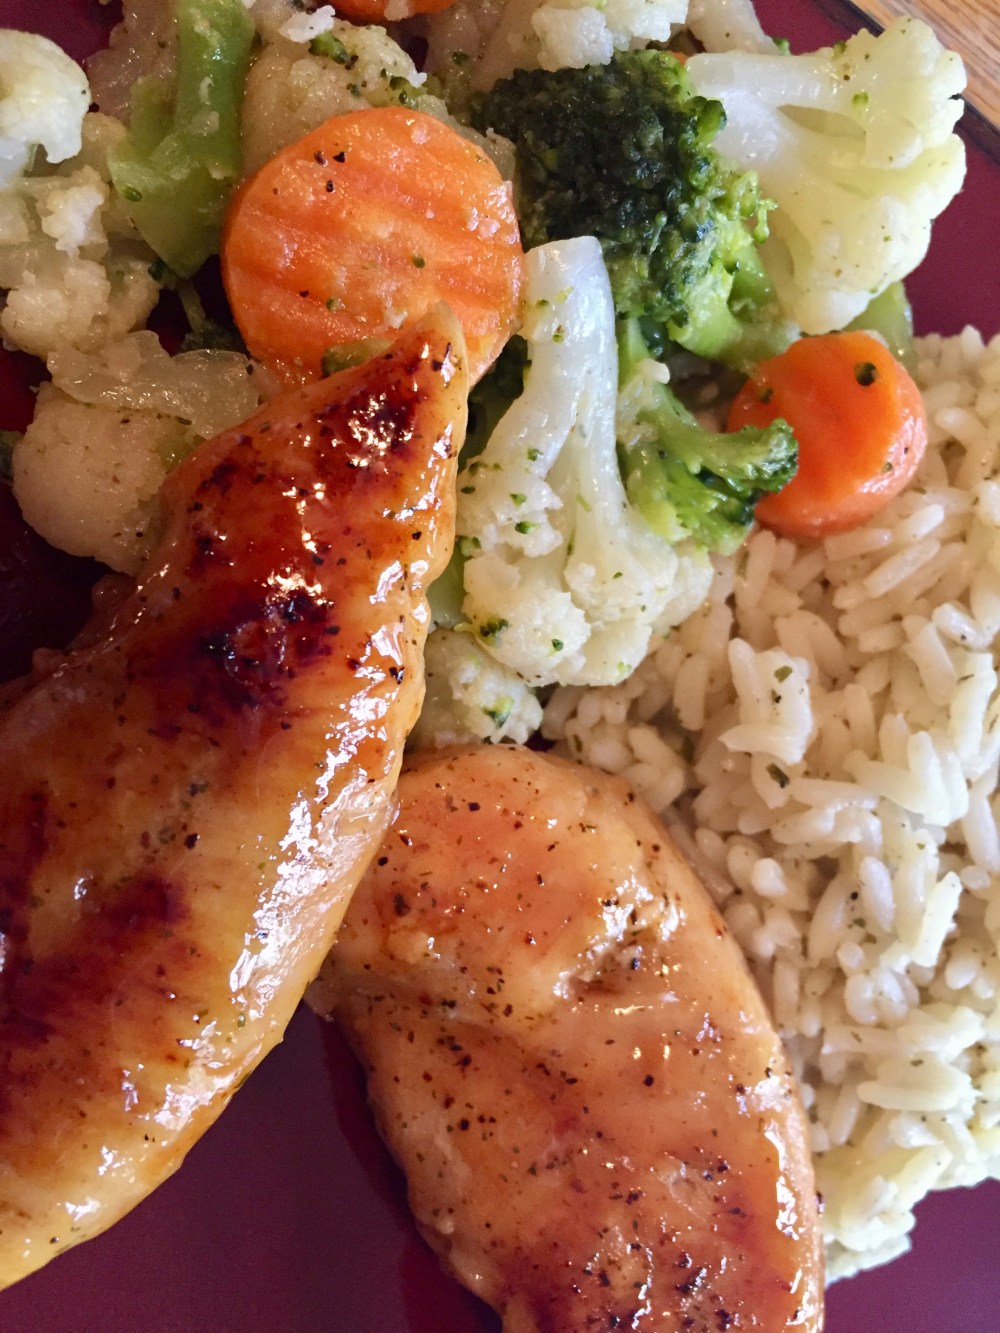
Now, doesn’t that look delicious?! If you decide to give this recipe a try, please let us know how it turned out for you in the comments section below. Until then, happy cooking! 🙂
NOTE: Please check (and double check) any and all labels before you consume a new product if you (or your child) has a food allergy, and if necessary call the relevant manufacturer to confirm that the product is safe for you (or your child) to consume. Please consult your (or your child’s) Dr. before making any dietary changes. While I hope that all of you reading this will find the information I have supplied above to be helpful, this information is not intended to in any way replace, or supersede, the care and advice of your allergist, nutritionist, dietician, or other medical professional.


One Comment Add yours